
Living with Your Dog

Understanding Dog Body Language: From Tail to Ears
Have you ever wondered what your dog is thinking? While they can’t speak, dogs are constantly communicating with us through their body language. Understanding these signals can not only deepen your bond with your pet but also help prevent potential behavioral issues or dangerous situations. This comprehensive guide will decode your dog’s body language, from the most visible tail to the most sensitive ears…

How Much Exercise Does Your Dog REALLY Need? (Breed Chart)
As a responsible pet owner, you’ve likely asked yourself: “Am I walking my dog enough… or too much?” Finding the right balance is crucial for your dog’s physical health, mental well-being, and overall behavior. Too little exercise can lead to obesity, destructive habits, and anxiety, while too much can cause joint injuries, exhaustion, and long-term strain….
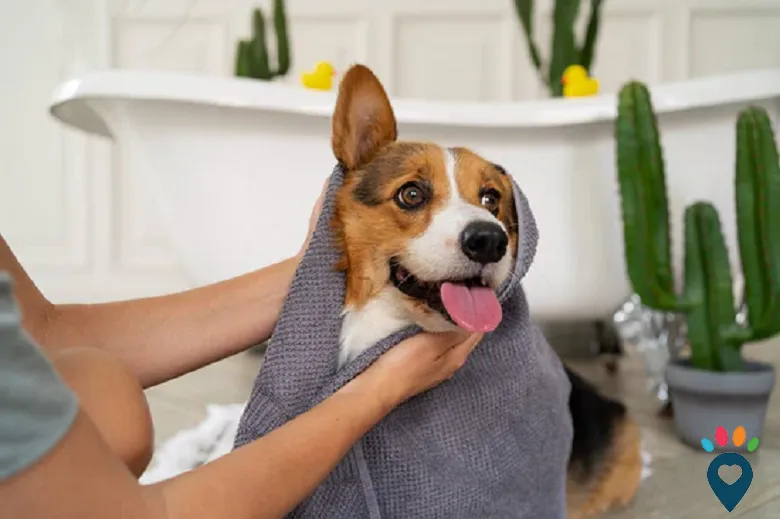
Step-by-Step Guide to Bathing Your Dog at Home (Stress-Free!)
Few things are as quintessentially “dog owner” as the experience of giving your beloved pet a bath. For some dogs, bath time is a joyous splash fest. For others, it’s a source of profound suspicion and stress. A stressful bath can damage the bond of trust with your pet, turn grooming into a nightmare, and leave you both soaked and frazzled….

Choosing the Right Shampoo: Solutions for Itchy Skin, Smell & More
Walking down the pet care aisle can be overwhelming—dozens of shampoos promising miracles for your dog’s coat, each with different ingredients and purposes. Choosing the wrong shampoo isn’t just a waste of money; it can exacerbate skin issues, strip natural oils, and leave your dog uncomfortable. With over 25% of dogs experiencing skin conditions and allergies being a leading cause of veterinary visits, selecting the correct shampoo is a critical component of preventative care….

New Puppy Checklist: Essential Supplies for the First Week Home
The day you bring your new puppy home is one of life’s most joyful milestones. Between the flurry of tiny paws and heart-melting cuddles, it’s easy to feel overwhelmed by the sheer amount of “stuff” a small creature seems to require. Being prepared isn’t just about convenience—it’s about creating a safe, structured, and loving environment that sets the foundation for a happy, well-adjusted dog….
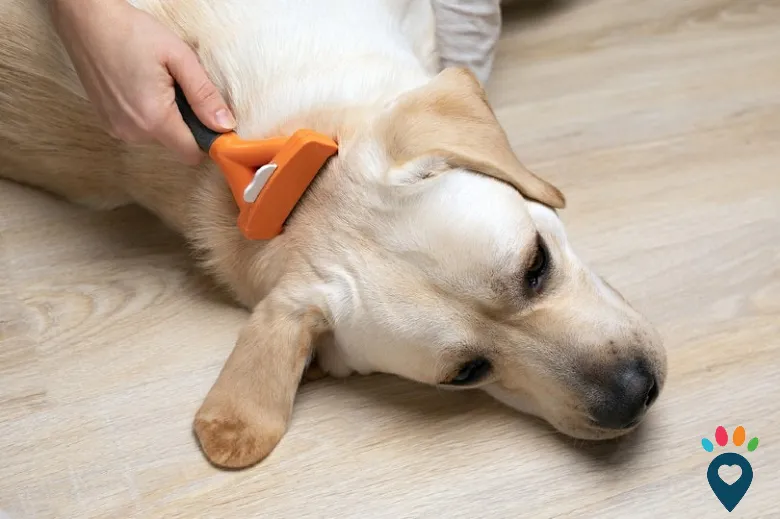
De-Shedding Tools That Actually Work: A Review for Heavy Shedders
If you share your home with a heavy shedder, you know the reality: tumbleweeds of fur rolling across the floor, a permanent layer of hair on your clothes, and the constant battle to stay ahead of the fluff. For breeds like German Shepherds, Huskies, Golden Retrievers, and Labrador Retrievers, shedding isn’t a seasonal event—it’s a lifestyle. The wrong brush is a frustrating waste of time, while the right tool can transform your grooming routine from a losing battle into a manageable, satisfying task…
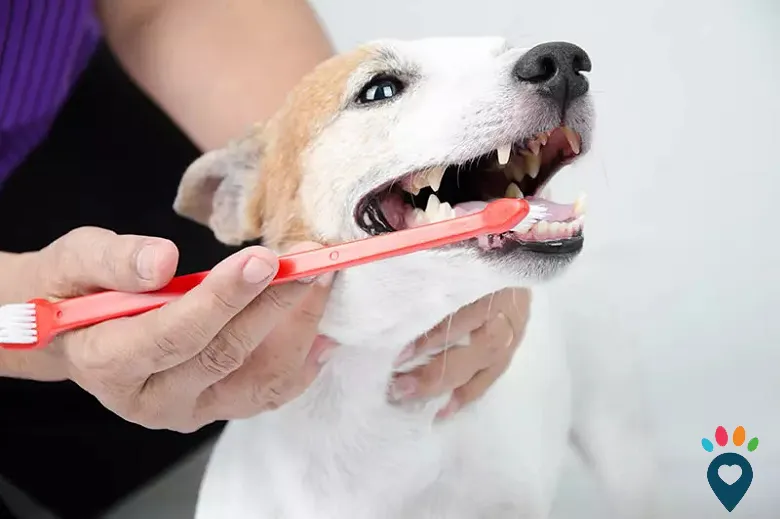
DIY Dog Grooming: Trimming Nails, Cleaning Ears & Brushing Teeth
For many pet owners, the thought of trimming their dog’s nails, cleaning their ears, or brushing their teeth can be daunting. These essential grooming tasks are crucial for your dog’s long-term health and comfort, yet they often trigger anxiety for both pets and their people. Relying solely on professional groomers or veterinarians for these basic needs can be costly and doesn’t always address the fear a dog may associate with the process…

Brushing 101: How Often and Best Tools for Your Dog’s Coat Type
Brushing your dog is far more than a cosmetic ritual—it’s a cornerstone of their health, comfort, and your bond. Regular brushing removes dirt, spreads natural skin oils, prevents painful mats, and drastically reduces shedding around your home. Yet with over 100 recognized dog breeds and countless mixed coats, there’s no one-size-fits-all answer to the questions: “How often should I brush?” and “What brush should I use?”…
Related Articles
Summer Grooming: Keeping
Your Dog Cool with the Right Haircut
Swimming Safety for Dogs:
Introduction, Tips & Gear
Dog-Proofing Your Home:
A Room-by-Room Safety Inspection